Skiskates combine the smooth glide of skating with the control of skiing. These short, lightweight skis attach to your existing ski or snowboard boots, making them simple to use and easy to carry. Perfect for beginners, skiskates are quick to learn, allowing most people to navigate gentle slopes within a couple of days. Here's what you need to know:
- What They Are: Compact skis (17–20 inches) with steel edges for control and a flex core for performance.
- Why They’re Fun: Easy to maneuver, great for tight turns, and suitable for all skill levels, including kids and older adults.
- Gear to Bring: Ski/snowboard boots, helmet, goggles, gloves, and layered clothing (base, mid, and waterproof outer layers).
- Safety Tips: Follow slope rules, stick to beginner-friendly runs, and avoid skiing when tired.
- Resort Navigation: Use skiskates’ portability to move easily through crowded areas and lift lines.
If you're looking for a new way to enjoy the slopes, skiskates offer a simple, fun, and lightweight alternative to traditional skis.
Snowfeet* & Skiskates Complete Guide | All you need to know about Skiskating
sbb-itb-32287b2
What You Need to Know About Skiskates
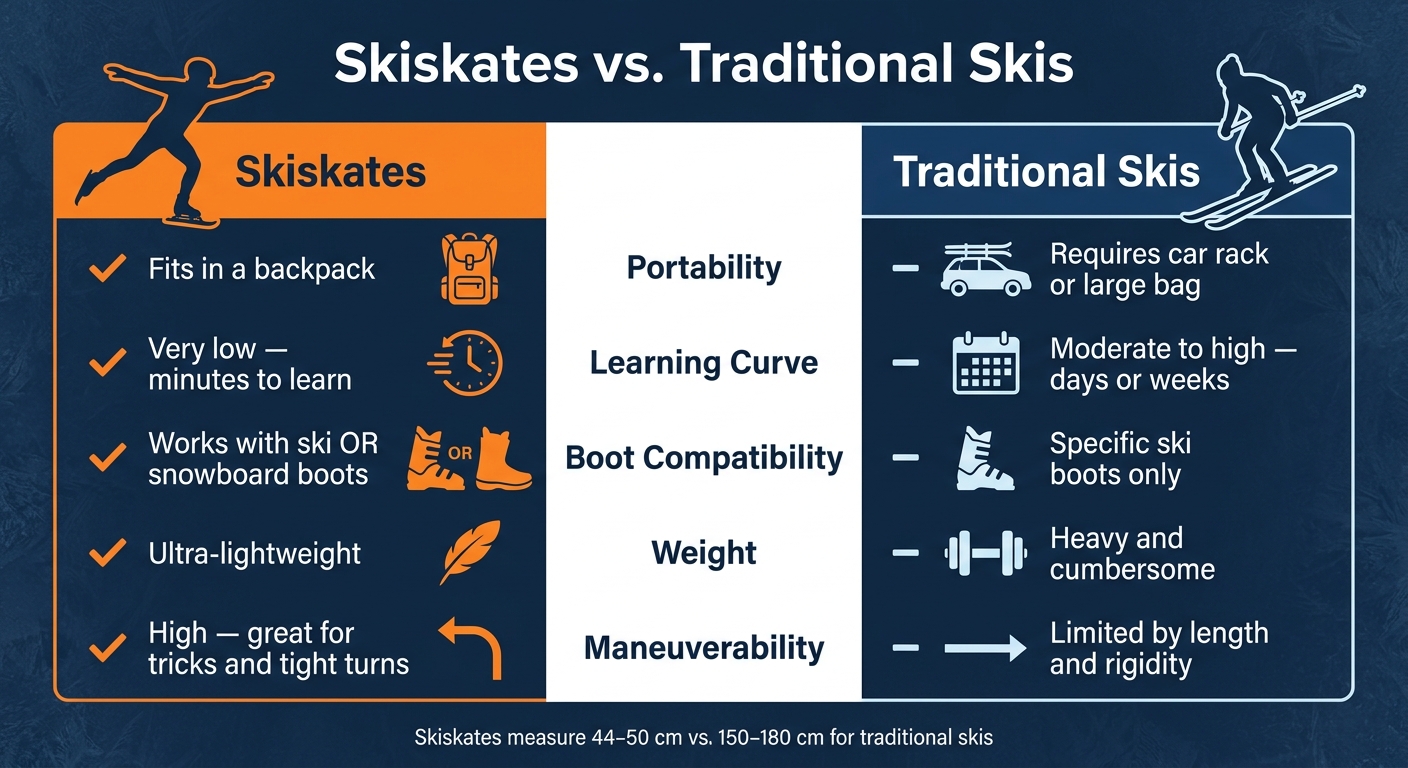
Skiskates vs. Traditional Skis: Full Feature Comparison
What Are Skiskates?
Skiskates are essentially a hybrid between skis and skates, designed to let you glide on snow with the ease of ice skating. Measuring only 44–50 cm (around 17–20 inches) in length, they’re much shorter than traditional skis but still pack essential features. These include steel edges for carving and stopping, along with a flex core made from materials like wood or fiberglass. The best part? They’re compatible with regular ski or snowboard boots, and their compact size makes them easy to carry - just toss them into a standard backpack.
Why Skiskates Are Worth Trying
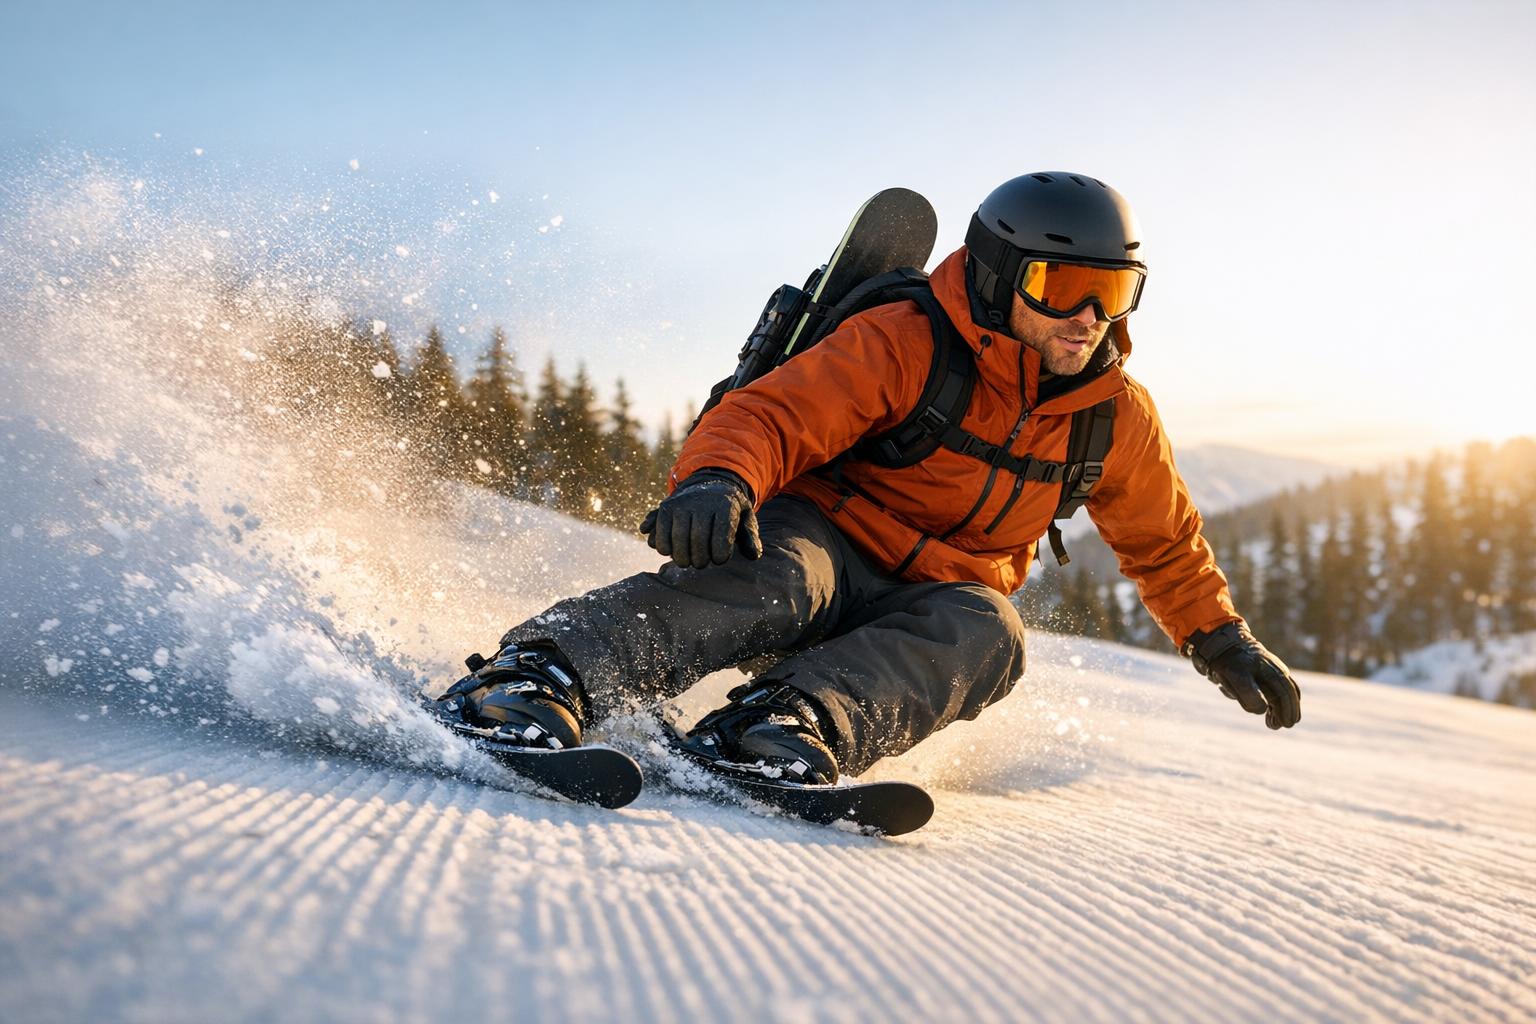
For beginners, skiskates offer a quick and straightforward learning experience. Many people can pick up the basics in just a few minutes. Their small size makes them incredibly easy to maneuver, allowing for tight turns and smooth navigation, even on busy slopes. As you gain confidence, you can even try tricks like jumps or spins. Brad Tolin described his first time using them as follows:
"Super easy to control, quick to turn, and way more forgiving than traditional skis."
Skiskates aren’t just for seasoned athletes - they’re designed for almost everyone. Kids as young as 5 and adults of any age can enjoy them, making them a versatile and fun option for snowy adventures.
Skiskates vs. Traditional Skis
Here’s how skiskates stack up against traditional skis:
| Feature | Skiskates | Traditional Skis |
|---|---|---|
| Portability | Fits in a backpack | Requires car rack or large bag |
| Learning Curve | Very low (minutes) | Moderate to high (days or weeks) |
| Boot Compatibility | Ski or snowboard boots | Specific ski boots only |
| Weight | Ultra-lightweight | Heavy and cumbersome |
| Maneuverability | High - great for tricks and tight turns | Limited by length and rigidity |
Whether you’re new to snow sports or looking for a fresh way to enjoy the slopes, skiskates offer a fun and practical alternative to traditional skiing gear. Their ease of use and portability make them a great choice for anyone eager to hit the snow.
Gear and Clothing You Will Need
Having the right gear is key to staying safe and comfortable at the resort. The good news? Skiskates are compatible with your existing ski or snowboard boots, so no need to invest in a whole new setup.
Gear Checklist for Beginners
Your boots are the most critical piece of equipment. As Country Ski & Sport explains:
"Boots are perhaps the most important piece of equipment for a beginner. Ensure they fit snugly, offering both comfort and support, while allowing you to feel connected to your skis."
A snug fit provides better control, while loose boots can slow your reaction time on the slopes. Another must-have? A helmet. The National Ski Areas Association (NSAA) emphasizes its importance:
"Skiers and snowboarders who wear helmets are SEVEN times less likely to have a head injury."
When selecting a helmet, look for one with MIPS (Multi-directional Impact Protection System) to reduce the risk of brain injuries during angled impacts. For eye protection, invest in goggles with anti-fog lenses and UV protection to handle varying light conditions. If you're on a budget, Goodr snow goggles are a solid option at around $75.
Cold hands can ruin a day on the slopes, so waterproof insulated gloves or mittens are essential. Mittens are warmer because they trap more heat, while gloves offer better dexterity for adjusting gear. Choose based on your personal needs and how sensitive you are to the cold. For your feet, stick to a single pair of wool or synthetic ski socks (never cotton and don’t double up) to keep your feet warm and blister-free without adding unnecessary bulk inside your boots.
Once you’ve got your gear sorted, it’s time to focus on dressing for the conditions.
How to Dress for Cold Weather on the Slopes
Skiskating involves a lot of movement, so you’ll want to balance warmth and breathability to avoid overheating or getting chilled. Following a three-layer system is a reliable way to stay comfortable:
| Layer | Purpose | Best Materials |
|---|---|---|
| Base | Wicks sweat away from your skin | Merino wool or synthetic thermals (skip cotton) |
| Mid | Retains heat | Fleece or active insulation |
| Outer | Shields against wind, snow, and moisture | Gore-Tex or eVent waterproof/breathable fabrics |
When choosing an outer layer, prioritize breathability as much as waterproofing. A soft shell is usually sufficient for most conditions, allowing sweat to escape while keeping you dry. For harsher weather, like heavy snow or strong winds, a hard shell is a better choice. The Columbia Highland Summit jacket, priced at about $200, offers a good balance of warmth and weather resistance for beginners.
To stay prepared for sudden temperature drops, pack a lightweight puffy jacket, hand warmers, and a neck gaiter. These extras are especially useful during lift rides or breaks when you’re not moving and can cool down quickly.
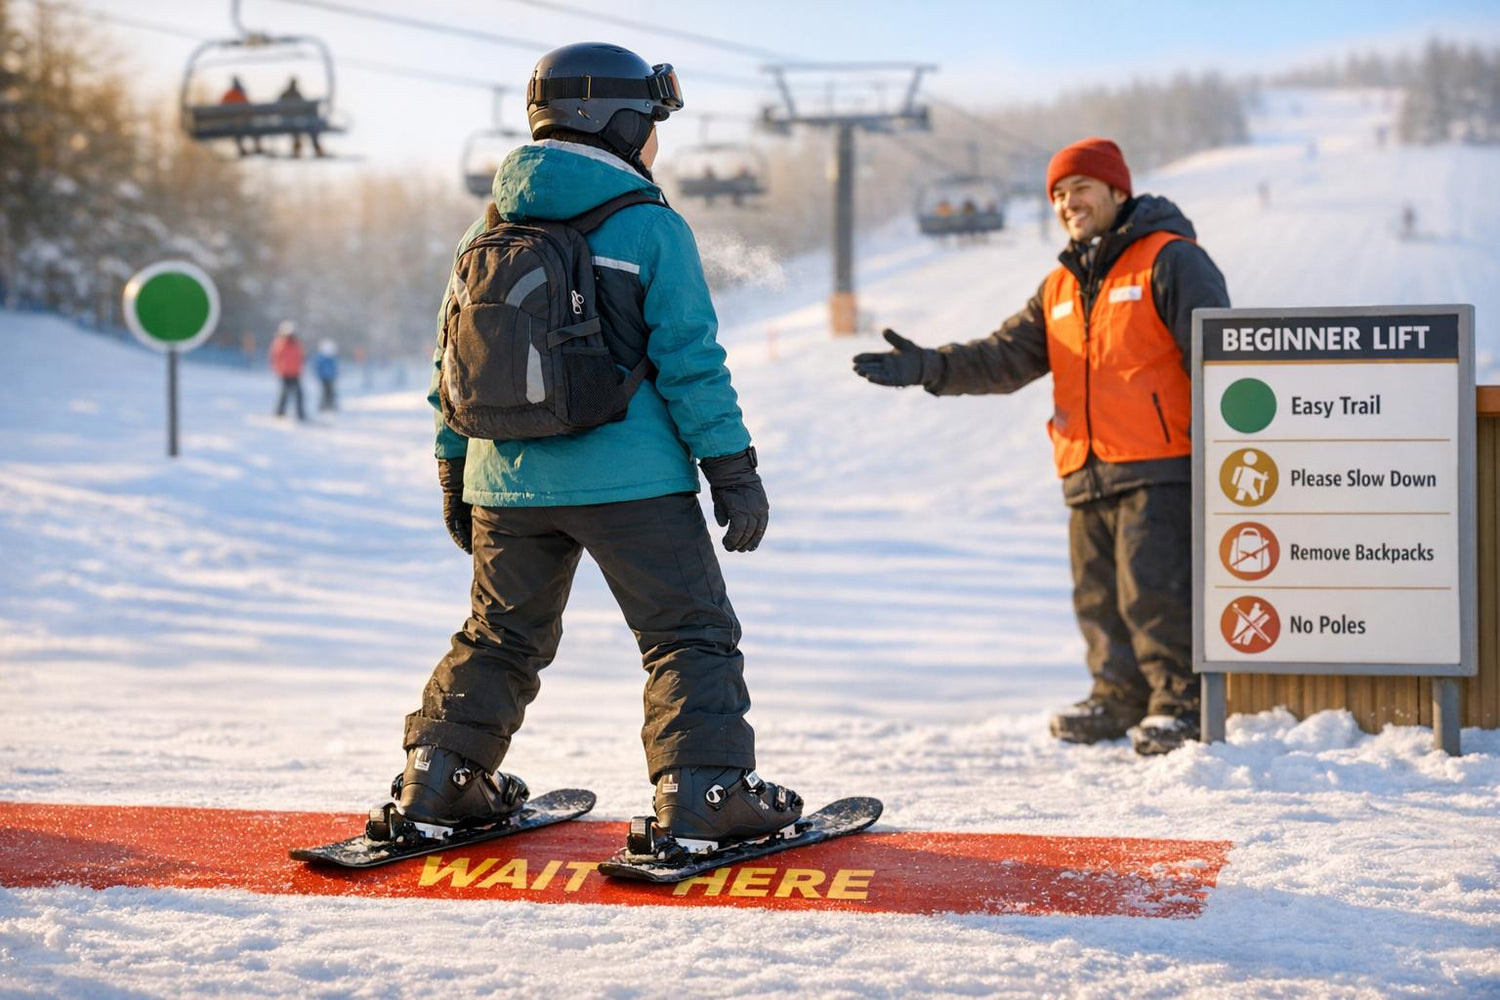
Getting Around the Ski Resort
When you arrive at the resort, take a moment to familiarize yourself with the base area. One of the perks of skiskates is their compact size - they fit neatly into a backpack, making it much easier to move through crowded areas and lift lines compared to traditional ski gear. Once you're oriented, you'll want to learn the basics of using ski lifts with your skiskates.
How to Use Ski Lifts with Skiskates
Chairlifts might feel a bit daunting at first, but a simple approach can make the process much smoother. Stick to the "Look, Load, Lower" sequence when boarding and "Lift, Land, Leave" when getting off the lift. Here's a step-by-step guide to help you ride safely and confidently.
When it's time to board, head to the marked "Load Here" line. Check behind you as the chair approaches, then sit firmly against the seat. If you're riding alone, position yourself in the center to keep your weight balanced. Once seated, lower the restraint bar, but remember to notify others on the chair before doing so.
As you approach the unloading area, follow the signs to know when to raise the bar. Keep the tips of your skiskates pointed upward, and when you reach the "Unload Here" zone, stand up and slide down smoothly. Be sure to clear the unloading area right away to make room for the next riders.
Before you board, secure any loose items like pole straps, scarves, or long hair to avoid mishaps. The National Ski Areas Association (NSAA) offers this advice:
"Most people who become unseated have a problem at the load area, often because they are distracted or trying to get organized at the last minute."
If you're unsure about the timing, don't hesitate to ask the lift attendant to slow the chair for you - they're used to helping beginners. For surface lifts, such as T-bars or platters, stay standing throughout the ride, keeping your skiskates straight and balanced.
Basic Skiskating Techniques for Beginners
Now that you're out on the snow, it's time to focus on movement. Skiskating isn't about being a top athlete - it's about maintaining good posture, being patient, and starting small. The best place to practice is on easy, groomed terrain, so stick to gentle slopes while you build your confidence and refine your technique.
Start with the essentials: learning how to start, stop, and turn.
How to Start and Stop
Before you take your first glide, check your stance. Keep your knees slightly bent, your hips centered, and your weight evenly distributed. Lean your shins forward so they press against your boots - this helps with balance and gives you better control.
When it comes to stopping, the "pizza stop" (also called the snowplow) is your go-to method as a beginner. To do this, push the backs of your skiskates outward to form a wedge shape, like a slice of pizza. Apply pressure to the inside edges of your skiskates. The wider your wedge and the more pressure you apply, the quicker you'll slow down. Practice this on a short, shallow slope with a flat area at the bottom so you can get comfortable without worrying about picking up too much speed.
How to Turn and Navigate Gentle Slopes
Once you've nailed stopping, it's time to work on turning, which is key to controlling your speed. To turn left, press down on the inside edge of your right skiskate. To turn right, shift pressure to the inside edge of your left skiskate. Keep your movements small and deliberate as you practice.
The secret to smooth turns is staying low. As Nordic Ski Lab explains, "Lower your centre of mass by maintaining some soft flexion at the ankle, knee and hip joints at all times. Never stand fully upright." A slight crouch with relaxed joints gives you better balance and control than standing tall. If you feel like you're losing control, don't straighten up - bend your knees and hips a bit more instead. Once you're comfortable linking several turns together on an easy slope, managing your speed will feel much more natural.
Staying Safe and Avoiding Common Errors
Good technique helps you navigate the slopes; good judgment ensures you can enjoy them again and again.
Basic Safety Rules on the Mountain
Whether you're on skiskates or traditional skis, everyone on the slopes is expected to follow the National Ski Areas Association (NSAA) Skier Responsibility Code. The main takeaway?
"Always stay in control. You must be able to stop or avoid people or obstacles." - National Ski Areas Association (NSAA)
Some key points to remember include yielding to those ahead of you, steering clear of stopping in blind spots, and always checking uphill before merging onto a trail. A helpful tip is to imagine a 15-foot bubble around every skier or snowboarder - stay out of that space to avoid collisions.
If you're a beginner using skiskates, make sure they’re secured with a leash or brake, as required by many resorts. Keep in mind, not all resorts allow skiskates. For instance, Snowbasin Resort explicitly bans "Snow Skates or Mini Ski Skates" on their lifts and slopes. Always verify the resort's policy before you plan your trip.
By following these basic rules, you can minimize risks and focus on enjoying your day.
Mistakes Beginners Often Make
One of the biggest missteps beginners make is tackling terrain that's beyond their skill level. As Peter Novom, Manager of the Ski & Ride program at Okemo Mountain, explains:
"Most accidents occur when skiers or riders are skiing above their ability level."
Stick to green runs until you feel completely comfortable with stopping and turning.
Fatigue is another common issue. Many injuries happen between 2 p.m. and 4 p.m., when snow conditions worsen - becoming slushy or icy - and focus starts to waver. To avoid this, follow the "Rule of Threes": skip skiing three days in a row, avoid descending more than 3,000 vertical feet in a session, and consider wrapping up your day before 3 p.m.
Lastly, don’t neglect your equipment. Make sure your binding release settings are adjusted to match your weight and skill level. This small step can go a long way in preventing injuries.
Conclusion: Get Ready for Your First Skiskates Day
Your first day on skiskates is all about embracing the mix of excitement, small challenges, and steady progress. Start by picking up your rental gear early to skip the crowds and ease into the day without stress.
As travel writer Melanie May wisely says:
"Your first ski holiday is a mix of fun, challenge and learning. You don't need to look perfect. You don't need to be fearless. You just need to show up, take it step by step, laugh at yourself, and soak it in."
Being prepared with the right gear and safety practices makes all the difference. Stick to beginner-friendly green runs, and don’t forget essentials like proper layers, a helmet, and sunscreen.
Plan for regular breaks, keep yourself hydrated, and listen to your body. If you’re feeling tired or overwhelmed, it’s perfectly okay to call it a day early and recharge for another go tomorrow. With these tips in mind, you’re set to enjoy every moment of your first skiskates adventure.
FAQs
Are skiskates allowed at my ski resort?
Policies regarding skiskates can differ from one ski resort to another. To avoid any surprises, it's a good idea to contact your chosen resort ahead of time and verify if skiskates are allowed on their slopes and within their facilities.
Do I need poles with skiskates?
Skiskates don’t require poles. While poles are often used for balance and helping with propulsion on flat terrain, skiskates are built for a skating motion that works without them. If you feel more comfortable or find it easier to move forward using poles, you’re free to use them, but they’re completely optional.
What’s the best first run to try on skiskates?
For your first time on skiskates, aim for a gentle, easy trail - something like a green or mellow blue slope. Find an area that's flat or has a slight incline, with plenty of room to practice balancing and smooth gliding. This type of terrain is perfect for gaining confidence, getting used to the unique movement of skiskates, and safely building your skills while having fun.

Leave a comment
This site is protected by hCaptcha and the hCaptcha Privacy Policy and Terms of Service apply.