Skiskating is a snow sport that combines skiing and ice skating, using short skis for agility and portability. While fun, it comes with risks like falls, injuries, and collisions. Beginners can stay safe by wearing a helmet, knee and elbow pads, and wrist guards. Learn basic stopping techniques, practice on flat or beginner-friendly slopes, and avoid crowded or advanced terrain. Proper equipment, including snug-fitting boots and skiskates, is essential. Regular maintenance, like inspecting bindings and sharpening edges, also reduces risks. Start slow, focus on control, and prioritize safety gear to enjoy skiskating with confidence.
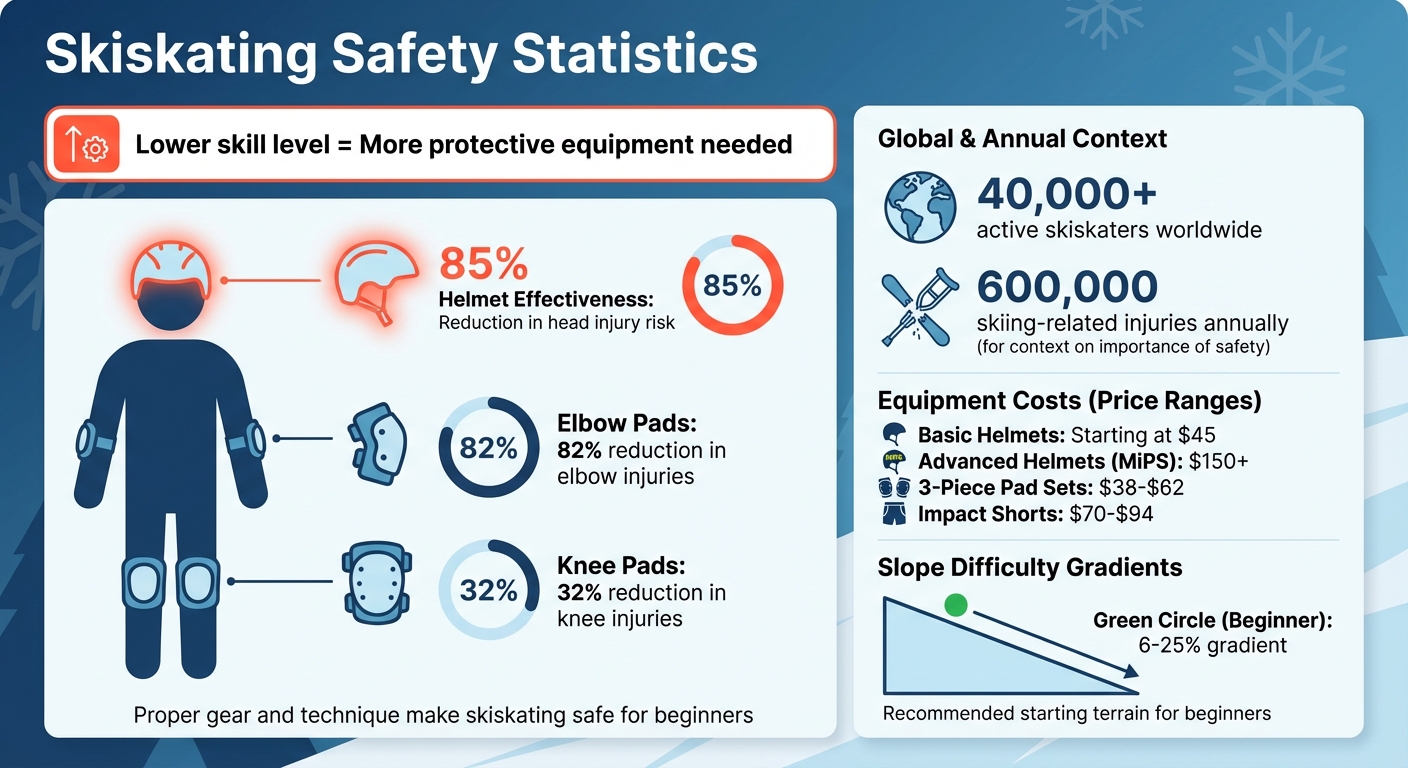
Skiskating Safety Statistics: Injury Prevention and Protection Gear Effectiveness
Beginner Ski Tips: 5 Things You Need to Know When You Start Skiing
sbb-itb-32287b2
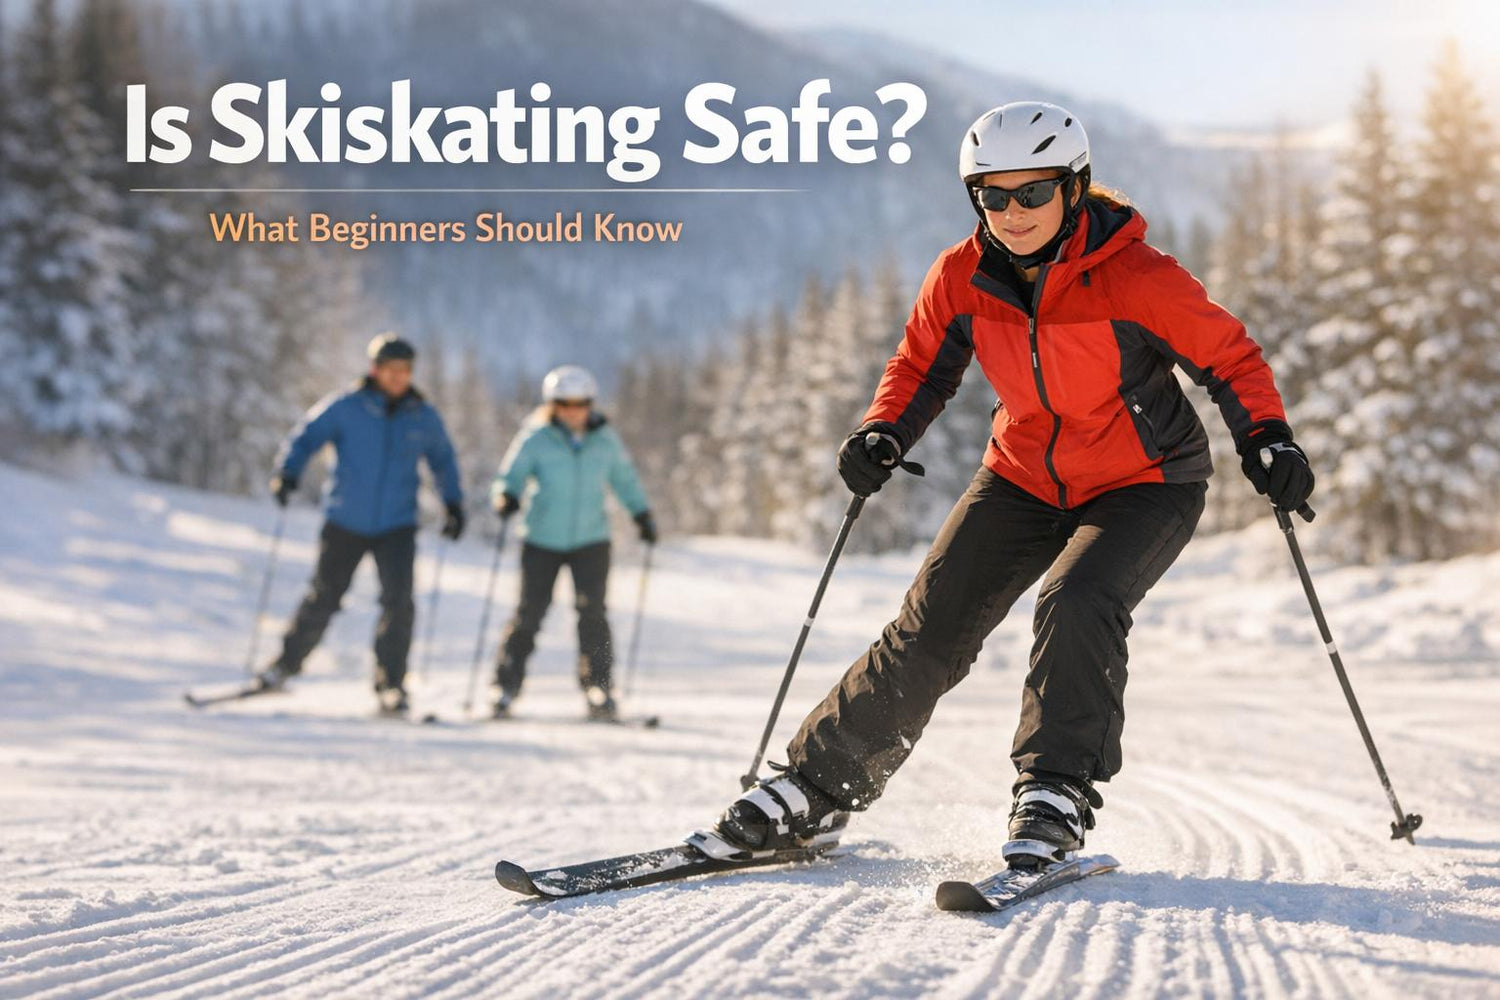
What Is Skiskating and How Safe Is It?
Skiskating combines the glide of ice skating with the lateral push of skating, using ultra-short skis to create a unique experience on snow. Imagine blending the downhill motion of skiing with the agility and push-off movements of skating. Unlike the long, parallel strides of traditional skiing, skiskating uses a "V-shaped" stride, which feels natural if you've tried ice hockey or rollerblading. Thanks to the shorter ski design, you can even perform tricks like spins, jumps, and backward riding. This dynamic style, however, comes with its own set of challenges, making safety measures essential.
"Skiskating is essentially a combination of skiing and skating. This truly unique sport... genuinely feels like ice skating, just on the snow." – Skiskates.com
For beginners, the main risks involve falls and losing control. Falling backward can lead to head injuries, especially at the base of the skull, while forward falls might impact wrists, knees, or even the face. Poor speed control and navigating uneven or crowded terrain can further increase these dangers. Wearing ill-fitting boots without proper ankle support also raises the likelihood of falls.
Thankfully, using the right techniques can significantly reduce these risks. For instance, wearing a helmet can lower the chance of head injuries by 85%, while elbow and knee pads offer extra protection. Maintaining a bent-knee stance helps with balance, and learning how to fall - by crouching and rolling - can turn potentially serious spills into minor incidents. Before tackling steeper slopes or crowded areas, it’s crucial to master stopping techniques.
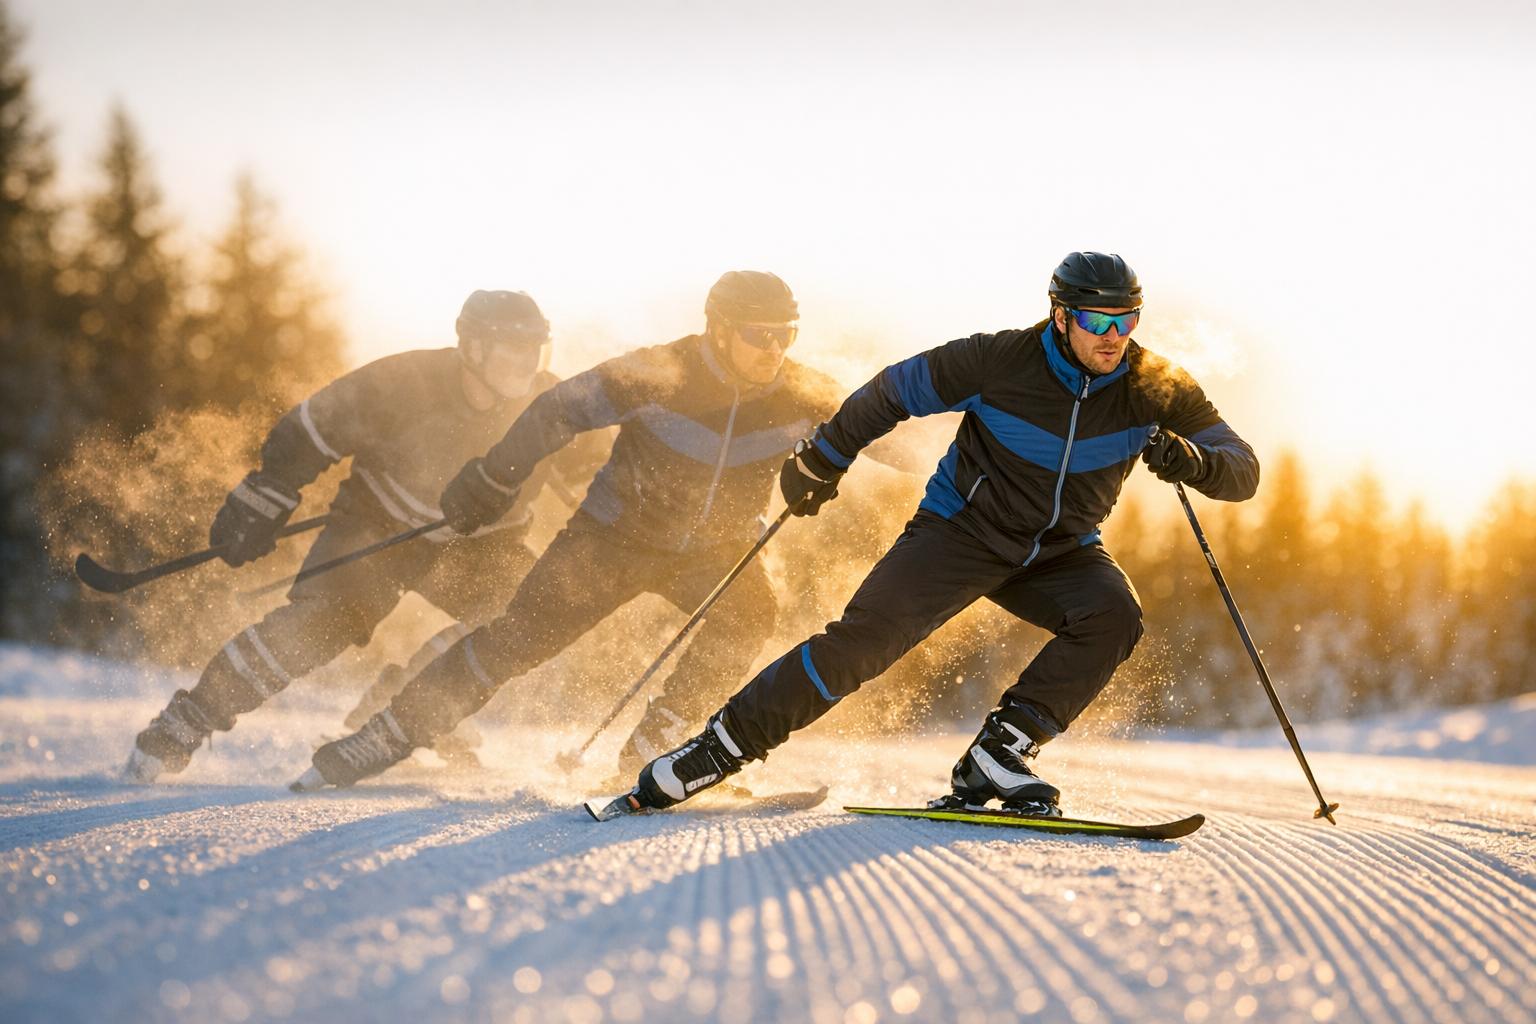
Interestingly, skiskating isn’t just a fun activity for enthusiasts. Professional skiers often use it as an off-season training method because it works the same muscle groups and hones similar skills as traditional skiing. With a growing community of over 40,000 active skiskaters worldwide, it’s clear that with proper preparation and safety measures, skiskating can be both an exciting and accessible sport.
Safety Gear You Need for Skiskating
Wearing the right protective gear can dramatically reduce your chances of injury while skiskating. A properly fitted, ski-rated helmet is essential for minimizing head trauma. Look for helmets approved by the Consumer Product Safety Commission (CPSC) or those that meet Snell B-95 standards. To ensure a proper fit, position the helmet level on your head with the rim just above your eyebrows. When you open your mouth, you should feel a slight pull on the helmet, indicating the straps are snug enough. Adjust the straps as needed to secure it.
Wrist guards, knee pads, and elbow pads are equally important to protect against common injuries. Wrist injuries happen most often, but well-designed elbow and knee pads can prevent up to 82% and 32% of injuries, respectively. Dr. Giovanna Medina, a Sports Medicine Specialist at Mass General Brigham, emphasizes:
"The lower your skill level, the higher your chances of falling, so the more protective equipment you should use".
Make sure your pads fit securely and include hard outer shells to stay in place during falls. For added protection, consider impact shorts to cushion your hips and tailbone. These typically cost between $70 and $94. This gear serves as the foundation for the more detailed equipment guidance in the following sections.
Helmets and Protective Padding
Choosing the right helmet and padding can make a significant difference in preventing injuries. Basic certified helmets start at around $45, while advanced models with MiPS (Multi-directional Impact Protection System) technology can cost over $150. For example, the REKD Elite 2.0 Skate Helmet has a 4.8/5 rating from 623 reviews, and the Triple Eight Gotham MiPS Helmet scores 4.9/5 from 36 reviews. Your helmet should have a hard outer shell and a liner at least 1/2 inch thick. Shake your head after putting it on - if it moves, adjust the fit.
When it comes to protective padding, three-piece sets (including knee, elbow, and wrist guards) range from $38 to $62. The REKD Heavy Duty Skate Pads, for instance, have a 4.6/5 rating from 734 reviews. Each pad should feature a hard cap to absorb impact and soft inner padding for comfort. Secure them firmly to ensure they stay in place during falls. Kneepads are especially important for beginners, who tend to fall forward more often.
Clothing and Gloves
While protecting your head and joints is critical, don't overlook your hands and overall clothing. Insulated gloves protect your hands from cold and abrasions. Opt for gloves with gauntlets - long cuffs that extend up your forearm - to prevent snow from getting inside your sleeves during a fall. Mittens provide extra warmth by keeping your fingers together, while gloves offer better dexterity for adjusting equipment. "Lobster" gloves, which group fingers together, strike a balance between warmth and functionality.
Your clothing should follow a three-layer system for maximum comfort and protection. Start with a moisture-wicking base layer (like merino wool or synthetic blends), add an insulating mid-layer (such as fleece or wool), and finish with a waterproof outer shell. Avoid cotton, as it traps moisture, dries slowly, and loses its insulating ability when wet. Nicholas Allen, Senior Sales Specialist at REI, sums it up:
"When you're wet, you're cold".
Beginners, who are more likely to fall, should prioritize waterproof pants and jackets. Look for designs with pit zips and thigh vents to help regulate body temperature during intense activity. Wear only one pair of moisture-wicking, knee-length socks; wearing multiple pairs can restrict circulation and make your feet colder.
Skiskates Equipment Features That Improve Safety
The design of your skiskates plays a key role in your overall safety. Adjustable bindings allow you to customize the fit without tools, ensuring your boots stay secure. A snug fit is essential - extra room in the heel reduces control and increases the risk of falls. Boots should be made from rigid plastic; if you can squeeze the material, it won't provide enough ankle support.
Lightweight skiskates help reduce fatigue, which is crucial since tired skaters are more prone to mistakes. Their compact size also makes them easy to carry in a backpack, adding convenience between sessions. Before each use, inspect the bindings and bases to avoid accidents. Always lace your skiskates fully, covering the ankle, to maximize stability and lower the risk of sprains. Pair them with tall, padded socks that match the boot height to prevent "lace bite" and skin irritation.
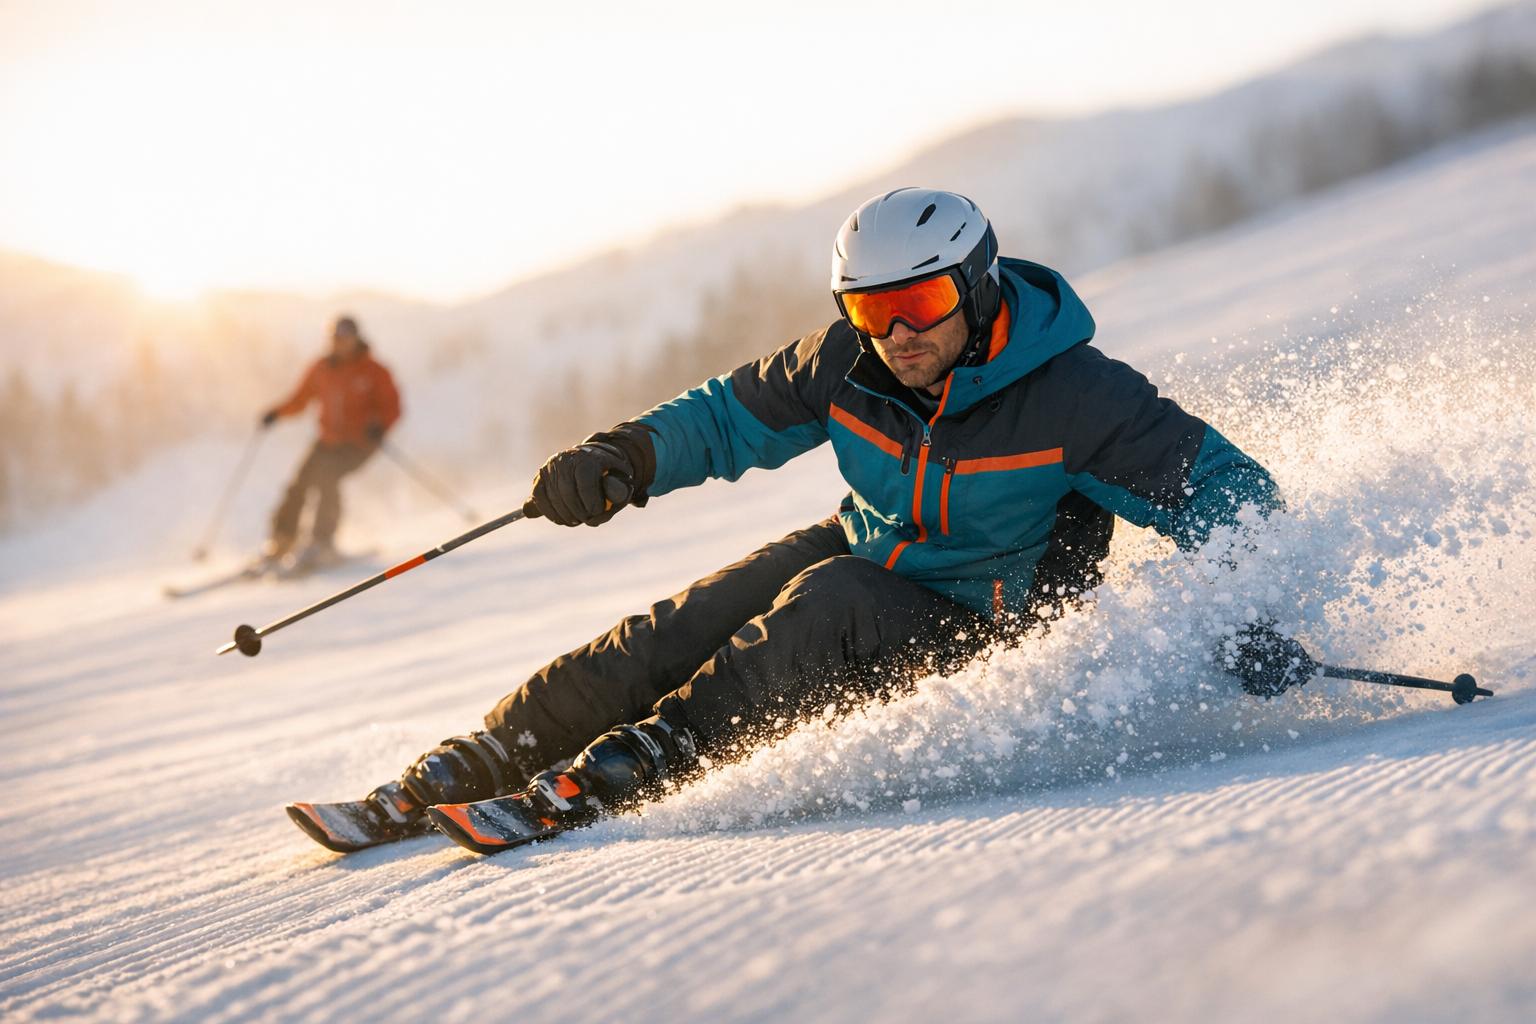
Basic Techniques to Stay Safe
Wearing the right gear is important, but knowing the basic techniques is just as crucial for staying safe while skiskating. One of the first skills to master is wedge braking (also known as the snowplow). To do this, push your heels outward into a "V" shape while bending your knees and ankles inward to create braking force. Ken Knapp, REI Editor Emeritus, explains:
"Wedge braking... allows you to control your speed (slow down)... you can also use the wedge to come to a complete stop."
The size of your wedge matters - a wider wedge slows you down more, while a narrower one lets you maintain slight acceleration. Before hitting the slopes, practice this technique on flat ground or even grass. This helps you build muscle memory without the added challenge of gravity. Avoid skating near others or on advanced terrain until you can stop and control your speed consistently. Once you’re comfortable with wedge braking on flat terrain, you can move on to slope-specific techniques.
How to Stop and Control Your Speed
Beyond the wedge brake, learning how to control your direction is essential for managing speed on slopes. The wedge turn is a key technique. It allows you to steer while controlling your speed by putting more pressure on one ski while keeping the "V" shape. For gentler terrain or gradual direction changes, try the step turn - lift one ski at a time and angle it toward your desired direction.
If you find yourself losing control, crouch to reduce the impact of a fall. For forward falls, aim to land on your kneepads with bent elbows to protect your wrists. For backward falls, tuck your chin to your chest to shield your head and try to land on your bottom rather than your arms. Dr. Melanie L. Pitone advises:
"Skaters should know how to protect their head and to keep their arms and legs away from their (and other skaters') blades if they take a tumble."
After falling, roll onto your back, lift and untangle your skis, then roll to your side and kneel before standing up. If you’re on a trail, move aside quickly to avoid blocking others. Once you’ve mastered speed control, shift your focus to improving balance and maneuverability.
Balance and Basic Maneuvers
A solid athletic stance is the foundation of good balance. Keep your knees and ankles bent, with your hips aligned over your feet and your weight centered on the balls of your feet. To maintain balance, ensure your nose, hip, knee, and toe are all aligned over your supporting foot.
Start by practicing single-leg balance before increasing your speed. Ken Knapp emphasizes:
"Being proficient and remaining balanced atop one foot is a trait shared by advanced skiers, so the more you practice this skill... at home, the better you'll be the next time you hit the snow."
You can build this skill at home by practicing on carpet. Focus on keeping your weight centered over the ball of your foot, with your knees and ankles flexed. When you’re ready to practice on snow, begin in flat, open spaces to get comfortable with your equipment.
Always keep your eyes forward to anticipate obstacles or changes in terrain. Stay flexible in your knees - they act as shock absorbers and help you maintain a stable center of gravity. Learning to shift your weight smoothly from one foot to the other while staying balanced on your gliding leg is essential for progressing from a beginner to a confident skiskater.
Picking the Right Terrain as a Beginner
Once you’ve got the right gear and a handle on the basics, the next big step is choosing the right terrain to practice on. The surface you skate on plays a huge role in how safely and confidently you can learn. For beginners, flat, open spaces like city parks or golf courses are excellent for getting a feel for balance and control. Groomed trails at cross-country resorts or public lands are another great option, offering smooth, packed surfaces that allow your skiskates to glide predictably. By pairing the right terrain with solid technique, you can build confidence and stay safe as you progress.
Start on Beginner Slopes and Groomed Trails
Green circle trails are your best friend as a beginner. These trails are designed with novices in mind, featuring gentle gradients - usually between 6% and 25% - that are easier to manage when you’re still learning to control your speed. Ken Knapp, REI Editor Emeritus, emphasizes this point:
"Start out on green (novice) trails and follow all posted rules."
Groomed trails, maintained by snowcats, provide a consistent, even surface that’s free of bumps or irregularities. This is crucial for skiskating, as your lateral push-off relies on a smooth base. Before you start, inspect the trail conditions - rough or uneven terrain can increase your chances of falling. Large, open areas at the base of ski resorts are perfect for early practice, offering gentle slopes where you can work on wedge braking and other basic skills. Starting on safe, beginner-friendly terrain sets the stage for steady progress without unnecessary risk.
Avoid Crowded or Advanced Terrain
As tempting as it might be to push your limits, it’s important to steer clear of advanced or crowded areas until you’ve mastered the basics. Busy slopes increase the likelihood of collisions, especially if you’re still working on control. Similarly, blue square (intermediate) and black diamond (expert) trails are much steeper and feature sharper turns, making them unsuitable for beginners. Ken Knapp offers this caution:
"Avoid blue or black trails at first, because you'll be more likely to fall on them, which isn't a great outcome for you, nor for the faster, more experienced skiers who use those trails."
Ungroomed or advanced terrain can also hide hazards like rocks, trees, or cliffs, further increasing the risk of injury. Stick to groomed slopes, which allow your skiskates to perform as intended. Before heading out, take a moment to study the trail map and identify green runs to avoid accidentally wandering into expert areas. If the area becomes crowded, step aside or wait for a quieter moment to practice safely. Only move on to steeper slopes once you can turn and stop consistently on gentle inclines. Picking the right terrain ensures a smoother, safer learning experience and helps you make the most of your skiskating journey.
Slope Etiquette and Safety Rules
Once you've got the right gear and mastered the basics, understanding slope etiquette is the next step to staying safe on the mountain. Following proper etiquette not only keeps you safe but also ensures everyone enjoys their time on the slopes. The National Ski Areas Association's Responsibility Code, updated in 2022, emphasizes modern guidelines for all slope users. These rules aim to prevent accidents, which account for about 600,000 skiing-related injuries annually.
Right-of-Way Rules
The golden rule of skiing and snowboarding? The person ahead or downhill always has the right-of-way. As the National Ski Areas Association puts it:
"People ahead or downhill of you have the right-of-way. You must avoid them."
This means it's your responsibility to steer clear of those below you on the slope. Before you start downhill or merge onto a trail, take a moment to look uphill and yield to those already moving. Daniel Morgan from Montec Magazine offers a relatable analogy:
"Think of it like merging onto a highway - it'd be crazy to close your eyes and swerve into traffic, right? So why do it on the mountain?"
Control is key. Always maintain a speed and direction that lets you avoid obstacles or other skiers. Keep a safe distance and make smooth turns to avoid startling others. Pay attention to all posted signs and warnings, and never venture into closed trails - they're off-limits for a reason.
Another critical aspect of slope safety is knowing where and how to stop and pass.
How to Stop and Pass Safely
Stopping in the wrong spot can be just as dangerous as skiing recklessly. The National Ski Areas Association advises:
"Stop only where you are visible from above and do not restrict traffic."
This means stopping in open, visible areas where others can easily see you. When you stop, position yourself perpendicular to the slope and move to the edge of the trail to avoid blocking traffic. If you're passing someone, give them plenty of space and make your movements predictable.
And remember to respect the mountain itself. As REI Editor Emeritus Ken Knapp points out:
"A universal no-no is tromping on (ruining) any ski tracks or smooth trail surfaces."
If you’re involved in a collision or incident, make sure to exchange contact details with the other party and inform a resort employee. Following these guidelines keeps the slopes safer and more enjoyable for everyone.
Equipment Checks and Maintenance
Even the best safety gear won’t save you if your equipment gives out mid-run. Just like wearing the right gear and using proper techniques can reduce accidents, keeping your equipment in top shape is crucial for safe skiskating. Regular checks and maintenance can help you avoid issues like worn straps, dull edges, or loose bindings. As Katie Blundell from Ticket to Ride Group puts it:
"If you have well-serviced equipment, it will give you a smoother, more enjoyable and safer ride on the mountain."
Routine inspections not only enhance your performance but also keep you safer on the slopes.
Daily Equipment Inspection Checklist
Before hitting the slopes, take a few minutes to inspect your skiskates. Start with the bindings and straps - these are critical for keeping your boots secured and are often the first to show wear. Make sure all screws are tight, as loose hardware can lead to equipment failure or even damage the base. Katie Blundell shares:
"I always check mine over at the end of each day to look for any wear and tear."
Next, check the edges by running your fingernail along them. If the edge doesn’t leave a white mark or feels rough with burrs, it’s time for sharpening. Also, inspect the base for white or chalky areas, which indicate it needs waxing.
Don’t forget to confirm your boot compatibility by adjusting the bindings at home with the right tool. If your skiskates have brakes, ensure they’re functioning properly. It’s a good idea to carry a small skate tool or screwdriver for quick fixes on the slopes.
Once you’ve completed your inspection, proper care and storage will keep your skiskates ready for action.
How to Store and Care for Your Skiskates
Taking care of your skiskates not only extends their lifespan but also keeps them safe to use. After each session, dry the metal edges to prevent rust. The Snowfeet Team recommends:
"Keep the metal edges dry after each use to prevent them from rusting. You can also wipe the edges using oil before storage."
For long-term storage, apply a thin layer of oil to the edges as a shield against corrosion. Clean the base with a cloth and a base cleaner to remove dirt and old wax, then apply a fresh coat of wax. Regular waxing ensures smooth gliding and prevents snow from sticking - beginners can stick to all-weather wax for general conditions.
Store your skiskates in a dry, temperature-controlled space. With proper care, most components can last 8–10 years, though straps may wear out sooner depending on how often you use them. If sharpening edges feels like too much of a challenge, take them to a professional ski service for maintenance.
Conclusion
Safe skiskating is within reach for every beginner when you combine the right gear, solid techniques, and careful terrain choices. For instance, wearing a helmet can lower the risk of head injuries by 85%, and elbow pads can help prevent about 82% of elbow-related injuries. The key is preparation and a steady, cautious approach to learning.
Start with the essentials: a helmet approved by CPSC or Snell, along with wrist, knee, and elbow guards. Ensure your skiskates fit snugly to provide proper ankle support. Begin your practice on flat, beginner-friendly terrain, focusing on mastering the basics like stopping and falling safely before moving on to steeper slopes.
"Wearing a helmet can reduce the risk of death or injury and reduce the severity of the injury in the event of a crash".
This principle applies to all your safety gear - they’re designed to protect you so you can fully enjoy the experience.
Take it step by step. Learn to control your speed, fall safely, and navigate beginner slopes with confidence. By building a strong foundation with these skills, you’ll be well-prepared to tackle more advanced slopes as you progress. With the right preparation, skiskating can become a thrilling and safe winter activity to enjoy for years to come.
FAQs
What safety gear do beginners need for skiskating?
When you're new to skiskating, safety should be your top priority, and that starts with wearing the right protective gear. A certified helmet is a must to safeguard your head, while knee pads, elbow pads, and wrist guards can help minimize injuries if you take a tumble. Don't forget to wear proper skate shoes that offer both stability and comfort for a smoother experience.
Having reliable gear not only helps protect you but also gives you the confidence to enjoy this thrilling activity!
What are the best ways for beginners to practice stopping safely while skiskating?
Beginners can master stopping techniques by starting small and practicing in a safe, controlled environment. Begin on a flat surface and move slowly to concentrate on maintaining your balance and control.
The snowplow stop is a great technique to start with. Bend your knees slightly, point your toes inward, and push your heels outward to create a “V” shape. Then, apply gentle pressure to the inner edges of your blades to generate friction and reduce speed. Once you feel comfortable with this, try using one foot to perform the snowplow while keeping the other steady.
When you’re ready for a more advanced maneuver, you can try the hockey stop. Glide at a moderate speed, shift your weight onto the inside edge of your lead foot, and quickly rotate both feet so they’re perpendicular to your direction of travel. Keep your knees bent and your arms steady to maintain balance as you slide to a stop.
To build muscle memory, practice each technique in short bursts, repeating them 5–10 times during a session. Take breaks as needed to avoid overexertion, and always focus on safety while learning.
What is the safest type of terrain for beginners to learn skiskating?
When you're just starting out with skiskating, the best place to practice is a flat, open area with groomed snow. Aim for cross-country ski trails or tracks managed by resorts - these spots usually have smooth, even surfaces and gentle slopes, making them perfect for beginners. This type of terrain lets you focus on finding your balance and mastering basic techniques without the stress of navigating steep inclines or bumpy patches.
If you're ready to try a bit of a slope, look for trails with a slight grade - around 0–5%. These provide just enough challenge to help you build confidence while practicing. Choose areas with consistent snow coverage, low traffic, and minimal obstacles to keep things safe and enjoyable as you learn.
Leave a comment
This site is protected by hCaptcha and the hCaptcha Privacy Policy and Terms of Service apply.