Skiskating blends skiing and skating into a fun winter activity. Using lightweight, short skis, you can glide across snow with ease, making it ideal for groomed trails, hills, or hiking paths. This guide simplifies the learning process, from choosing the right gear to mastering techniques like the V-skate for uphill climbs. Key tips include:
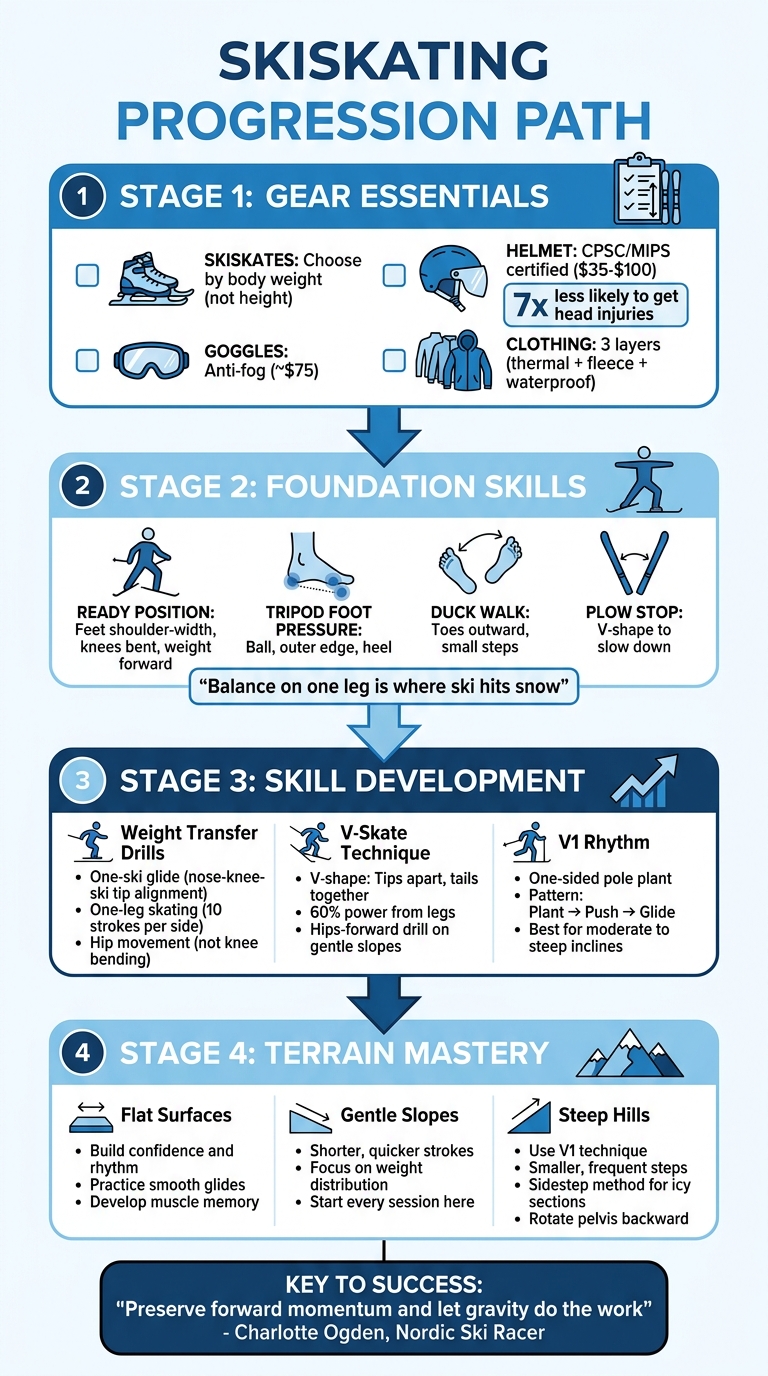
- Gear Selection: Focus on weight-based skiskates, helmets (CPSC/MIPS certified), and layered clothing for safety and comfort.
- Basic Techniques: Start with a stable stance, practice weight transfer, and learn stopping methods like the Plow Stop.
- Advanced Skills: Develop balance drills, master the V-skate for hills, and refine the V1 rhythm for steep inclines.
- Terrain Adaptation: Build confidence on flat surfaces, progress to gentle slopes, and tackle steeper hills with proper techniques.
With consistent practice and the right approach, skiskating can become an enjoyable and rewarding way to stay active during winter.
Skiskating Progression Guide: From Beginner to Advanced Techniques
First Steps on Skiskates
Selecting Your Gear
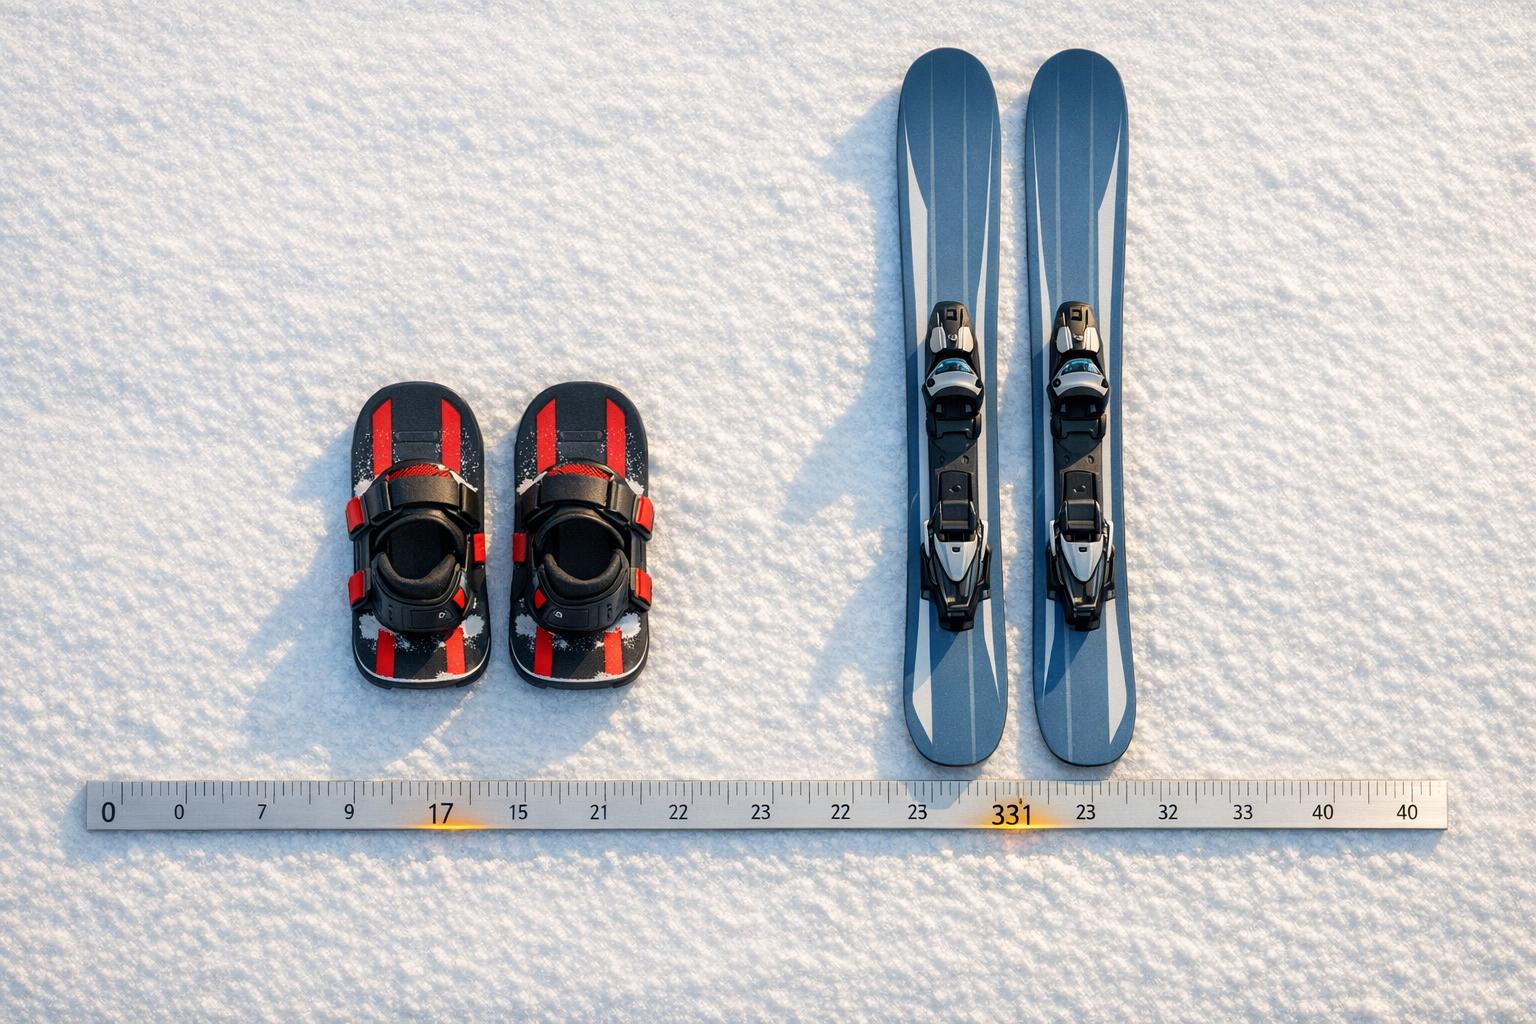
Start with the most important piece: your skiskates. These are designed with smooth bases for easy gliding, unlike cross-country skis, which often have grip zones or fish scales for traction. When picking skiskates, focus on your body weight rather than your height - this ensures the ski's flex responds properly when you push off and glide. Most skiskates come with adjustable bindings that work with standard ski or snowboard boots. For example, the Skiskates Ski Boots model, priced at $490.00, offers tool-free adjustments for convenience.
Next, you'll need protective gear. A certified helmet is a must, as wearing one makes skiers seven times less likely to experience head injuries. Look for helmets with CPSC or MIPS certification, often priced between $35 and $100. Pair this with anti-fog goggles (around $75), waterproof gloves, and layered clothing. Layering should include moisture-wicking thermals, a fleece mid-layer, and a waterproof outer shell like Gore-Tex. If you're new to skiskates, consider buying a package deal to avoid the hassle of mismatched or outdated gear. With the right equipment in hand, you’ll be ready to focus on developing proper technique.
Finding Your Stance
Your stance is the foundation of balance and control. Begin with the "Ready Position": feet shoulder-width apart, knees deeply bent, and your weight slightly forward at the ankles. Imagine sitting in a low chair while leaning forward slightly - this posture lowers your center of gravity and helps prevent backward falls. Ned Dowling from Nordic Team Solutions emphasizes the importance of bending at the ankles, knees, and hips to maintain stability. As he puts it, "The ability to balance and be stable on one leg is where the rubber meets the road (or ski hits the snow)".
Focus on maintaining tripod foot pressure, ensuring contact at the ball, outer edge, and heel of your foot. When transferring weight from one ski to the other, move your pelvis sideways rather than tilting your upper body. Dowling explains, "Weight shift comes from the pelvis/hip not leaning the trunk", underscoring the importance of engaging your hips. Keep your eyes forward to maintain proper alignment and avoid looking down at your feet, which can throw off your balance.
Learning Basic Movements
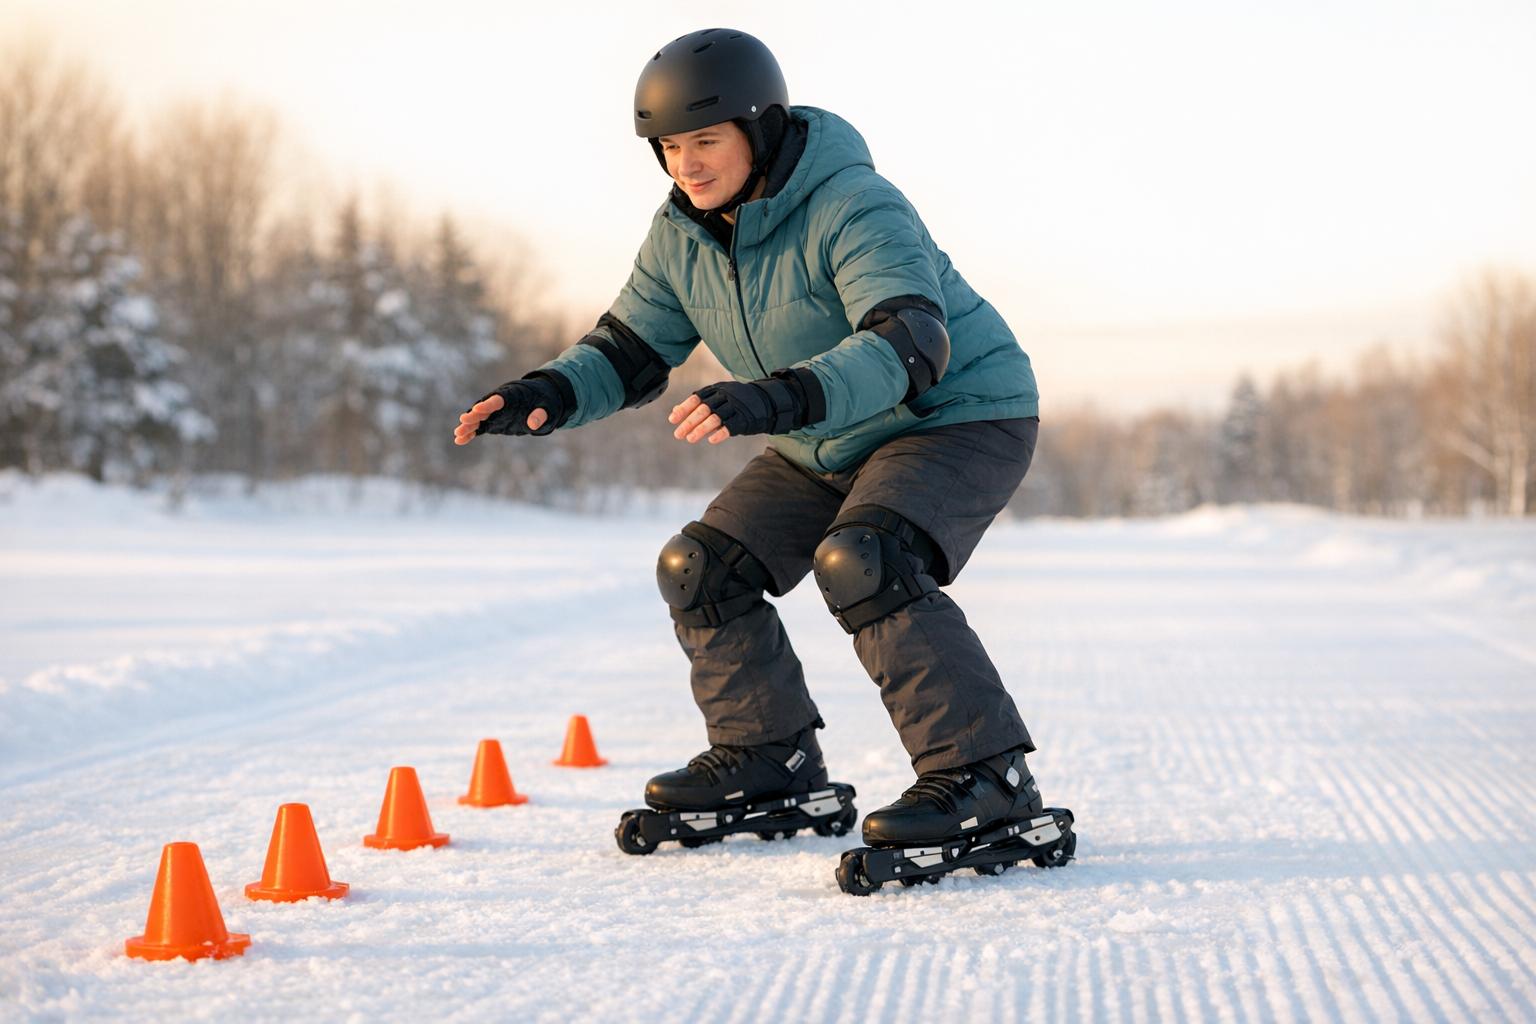
Once your stance feels solid, it's time to practice the basics. Start with the "Duck Walk" on flat, packed snow. Point your toes slightly outward and take small, deliberate steps to get used to the weight and feel of your skiskates. This simple drill helps you gain confidence and control. Once you’re comfortable walking, progress to the push and glide motion: push one foot diagonally outward while letting the other ski glide forward, alternating sides as you go.
Equally important is learning how to stop. Practice the "Plow Stop" by forming a V-shape with your skiskates - point your toes inward and push your heels outward to create friction and slow down. For turning, shift your weight onto the ski in the direction you want to go while keeping your knees bent and upper body steady. Start practicing these moves on flat terrain before attempting slopes. The A-Frame stance - a wide, stable position with skiskates parallel and slightly wider than shoulder-width - offers a secure foundation for mastering these essential techniques.
sbb-itb-32287b2
Step-by-Step Skill Development
Once you've nailed the basics, it's time to level up your abilities with focused drills and advanced techniques.
Weight Transfer and Balance Drills
Improving weight transfer is key to controlling your movements and achieving smooth transitions on skiskates. The idea is to shift your body weight completely from one ski to the other. Start with a simple stationary drill: stand still and rock your hips side to side, shifting weight between your feet. Make sure you're moving your hips - not bending your knees.
When you're ready to move, try the one-ski glide. Push off and balance on one ski as it glides forward. Aim to align your nose, knee, and ski tip in a straight vertical line. As Carrie McCusker, a Level 2 TrainingPeaks Coach, puts it, "A stiff, upright skier falls easily while a relaxed, poised skier absorbs terrain changes with less issue." Keep your ankles, knees, and hips slightly bent - this "skiing small" posture lowers your center of gravity and helps maintain stability.
For an added challenge, practice one-leg skating. Take 10 strokes on one leg before switching to the other. This drill helps isolate each side, reinforcing proper weight transfer. Be mindful of where you apply pressure: roll through the inner edge of your foot, not the ball. Pushing through the ball can cause the ski tip to dig into the snow, throwing off your balance. Once you’ve mastered this, you’ll be ready to tackle the uphill push of the V-skate technique.
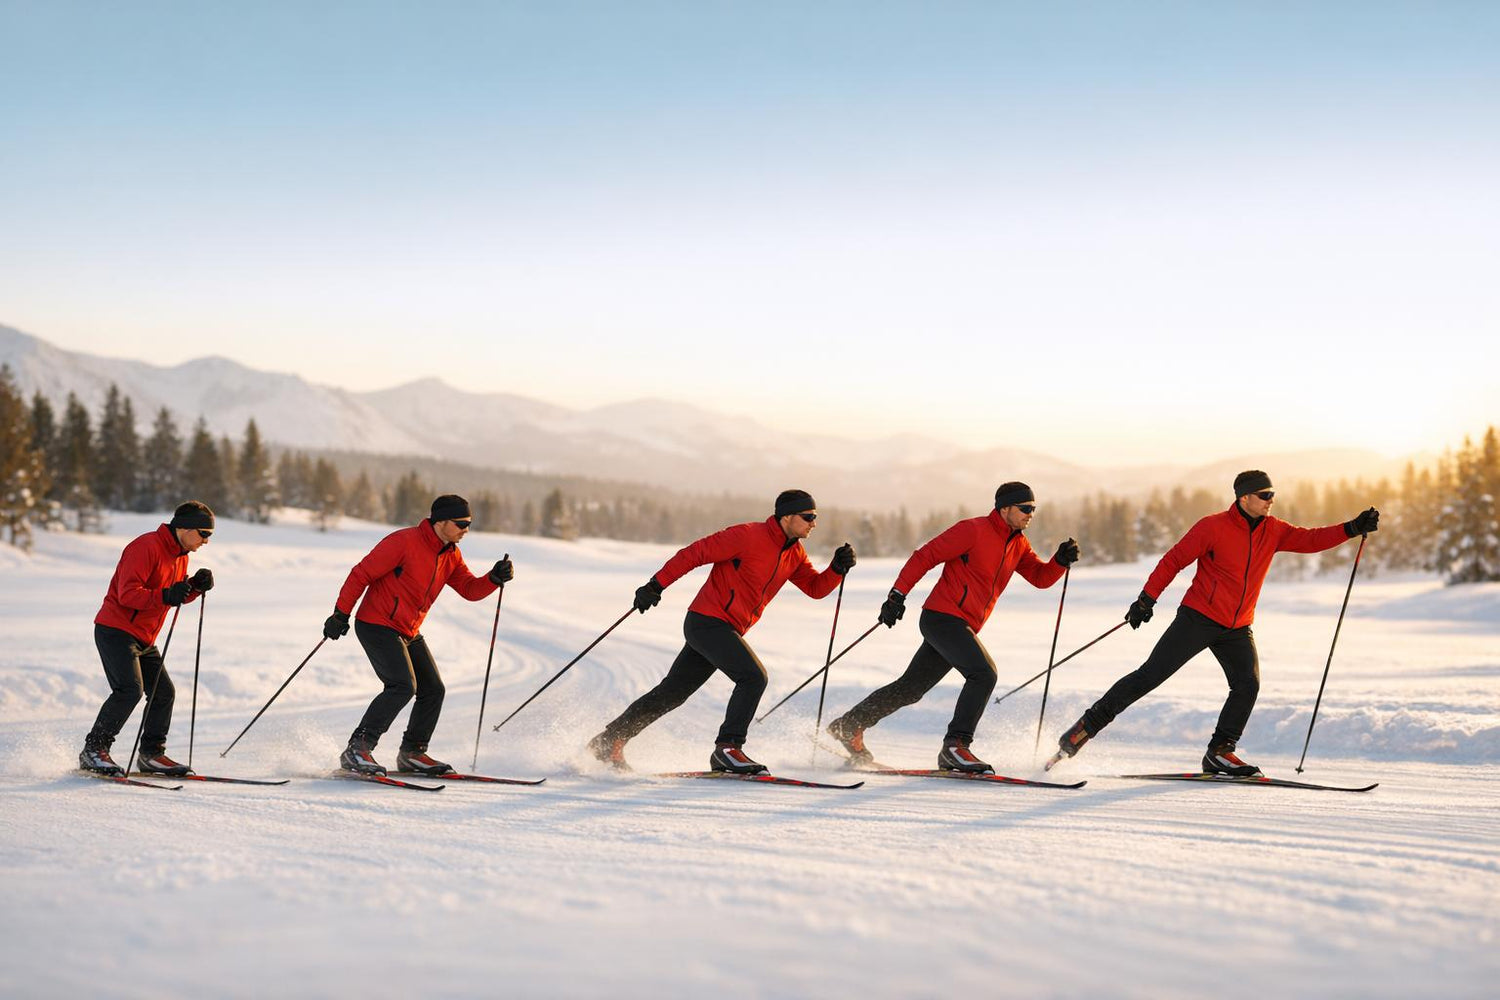
The V-Skate Technique
The V-skate is your go-to move for climbing hills. Start by positioning your skis in a V-shape - tips apart, tails together. Push off the inside edge of one ski while the other glides forward. According to Charlotte Ogden, a retired Nordic ski racer, "The key to skate skiing fast is preserving your forward momentum and letting gravity do all of the work for you, even if you are heading up a hill. To do this, you've got to bend at the ankles and knees to get your hips forward."
To practice, try the hips-forward drill on a gentle slope. Stand in a V-stance, lean forward until your skis start moving, and hop slightly to reset the V-shape. For better arm coordination, hold your poles horizontally across your hips. If the poles wobble or tilt, focus on keeping the "box" - the space between your hips and shoulders - facing forward. Keep in mind that about 60% of your uphill power should come from your legs. Once you’re comfortable, shift your attention to developing the rhythm of the V1 technique.
V1 Rhythm Basics
The V1 technique is a one-sided method where both poles plant on the same side during each stroke, creating a clear "power" side and "glide" side. The rhythm is simple: plant, push, glide. This technique works best on moderate to steep inclines.
Start by figuring out which side feels natural as your power side. Practice the timing slowly to exaggerate the weight transfer. A slight incline can help reinforce the proper rhythm. On the glide, compress your ankles and knees, and during the push, extend fully to generate as much power as possible. Repeat the motion until it feels second nature.
Riding Different Terrain Types
Mastering different terrains means applying your core skills with slight adjustments. While each surface demands unique techniques, the foundation remains the same - balance and weight transfer. These are the building blocks for navigating any skiing environment.
Flat Surface Techniques
Flat terrain is where your confidence begins to take shape. Lisbeth "Hurricane" Carter, a Nordic ski instructor, emphasizes the importance of starting in a supportive environment:
"In Nordic skiing beginners can get confident scooting around on the flats. When you're beginning, the best thing is to find a community of people to ski with."
Focus on smooth, steady glides to establish a consistent rhythm. Regular weight transfers help develop muscle memory, a critical skill for more advanced terrain. Ski pioneer Junior Bounous explains:
"The thing about skiing is reacting to the feel of movement. It takes agility, balance, and body and eye coordination."
Flat surfaces allow you to experiment with coordination and balance without the added difficulty of gravity pulling you downhill.
Handling Gentle Slopes
Once you've gained confidence on flat ground, gentle slopes are the next step. These slopes are ideal for testing your foundational techniques in slightly more demanding conditions. Stick to your basic stance and push/glide movements. Outdoor adventure enthusiast Kirsten Alexis suggests starting every session on green runs:
"Focusing on the fundamentals will ensure that you maintain the proper body mechanics to get you to advance in your skiing journey."
On these slopes, adjust your strokes to be shorter and quicker to match the incline. Pay close attention to weight distribution, especially during turns. Alexis advises:
"Stay relaxed and focus on proper stance and weight distribution as you turn."
Take your time on gentle slopes until these movements become second nature.
Riding Steeper Hills
Steeper slopes introduce a new level of challenge, requiring both technical adjustments and mental focus. Here, techniques like weight transfer and V-skating come into play. Switch to the V1 technique to manage force load and avoid stalling. For better control, raise your inside heel toward your glute while rolling your inside ankle and knee toward the snow, away from the outside leg.
On steep inclines, smaller, more frequent steps are more effective than long strides. Rotate your pelvis backward to reduce vertical effort with each stroke.
Keep your shoulders and hips aligned forward. Avoid letting your hips lag behind - what some call "sitting in the bucket" - as it diminishes efficiency. For icy or extremely steep sections, the sidestep method is your go-to: stand perpendicular to the hill and take small side steps, pressing the uphill edge of your ski into the snow for better traction.
Conclusion: Your Path to Skiskating Confidence
Key Takeaways
From selecting the right gear to mastering advanced drills, every step builds toward becoming a more confident skiskater. Keep your stance forward with bent ankles, and engage your core and arms during pole plants to boost power while easing the strain on your legs.
Picture a "box" between your shoulders and hips that always faces forward. This helps you avoid unnecessary torso twists, keeping your energy focused on moving down the trail. As Charlotte Ogden, a former Nordic ski racer, puts it:
"The key to skate skiing fast is preserving your forward momentum and letting gravity do all of the work for you, even if you are heading up a hill."
How to Keep Improving
Improvement comes with consistent practice. The drills and techniques you've learned - like the V-to-hop drill for momentum, the lock and load drill for core activation, and using your poles across your hips to check stability - lay the groundwork for steady progress. Practicing without poles occasionally can also help ensure your propulsion relies on proper weight transfer rather than just arm strength.
Vary your training intensity. Spend time perfecting your technique on easier terrain, but also push yourself on more challenging trails to learn through experience. The key is balance: refine your skills while embracing the learning curve.
And remember, it’s not about perfection. As Ogden wisely notes:
"Just getting outside and having fun is always more important than having perfect technique."
FAQs
How do I know what skiskate size to buy?
To pick the right skiskate size, think about your weight, height, and skill level - these factors influence both the length and stiffness of the skiskates. If you're a beginner, go for a size that's easier to handle and more forgiving, as it helps build confidence. In general, taller or heavier riders benefit from longer and stiffer skiskates, which offer better stability and support.
When should I start using poles?
Once you've nailed down the basics - like balancing, gliding, and managing your speed on skis - it's time to think about using poles. Generally, this comes after you've practiced and mastered key movements such as standing, taking small steps, and stopping. For most beginners, this process takes about a week of consistent practice. Poles can then help you improve your propulsion and refine your technique, but only after you're confident and stable in your skating movements.
How can I get comfortable on steeper hills faster?
If tackling steeper slopes feels intimidating, start by practicing on easier blue runs. These trails usually feature gradual inclines with shorter steep sections, making them ideal for building your skills step by step.
Focus on using proper technique to enhance your control and stability. Keep your weight slightly forward, practice wedge or parallel turns, and always look ahead to anticipate your movements. These small adjustments can make a big difference in how secure you feel on the slopes.
Another great way to prepare is by using a ski simulator. It’s a low-pressure way to develop muscle memory and refine your technique, all while reducing the fear factor before hitting the real slopes.
Leave a comment
This site is protected by hCaptcha and the hCaptcha Privacy Policy and Terms of Service apply.